Posts Tagged piped cushions
Make Do and Mend
Posted by tialys in Arts and Crafts on April 28, 2016
I used to ‘do’ upholstery. I have all the gear – a hide mallet, tack remover, a webbing stretcher, hammers, tacks, horsehair, etc. etc. but after a few years I went off the idea. I bought a chaise longue (interestingly, not called that in France unless you mean a garden recliner) from a junk shop and did it up but, nine years later, it had got a bit faded, saggy and generally in need of a facelift. I know the feeling. It was still comfortable – ask my dogs! – and the framework is very good as it was made before the days when most furniture is made to be chucked out after a few years, so I decided to pay somebody to re-do it for me. It took her about a week – it would have taken me much more.

I can’t get a brilliant photo because it is next to a French window and the light is shining on the metallic threads so it is not quite as ‘blingy’ as this but you get the idea. I got the fabric from Turkey and could have had red to go with the cushions on my sofa but decided to go a bit mad with the orange – although there are dark red bits on it which you can’t see for the duff lighting.

Anyway, to make up for being lazy with the upholstery, I decided to buy some more of the Turkish fabric – both in the orange and also some red mixtures – and make new cushion covers for the L-shaped sofa we have as the current ones are splitting at the seams and spewing feathers all over the place. Two completed ones above although not being displayed on their intended sofa because this one has better lighting. Mr. Tialys has insisted – despite my protestations and tears – that they should all have piping. I drew the line at zips though and they will all have envelope backs albeit generous ones. Two down sixteen to go.
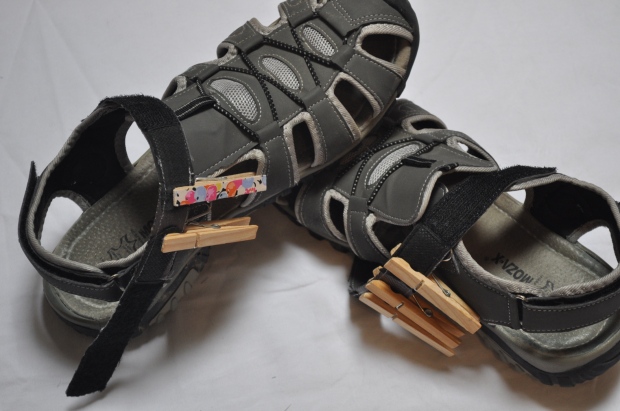
Then I had a couple of dog collars to make and, while I had the webbing to hand, I fixed my neighbour’s sandals.
All of which is to explain why my F2F quilt is still not finished.
Kate who, along with Sue, organized twelve of us for this block swap, is keen to see another finished quilt so I am trying to steam ahead with it and thought I’d do a progress report and prove to her that I am on the case.
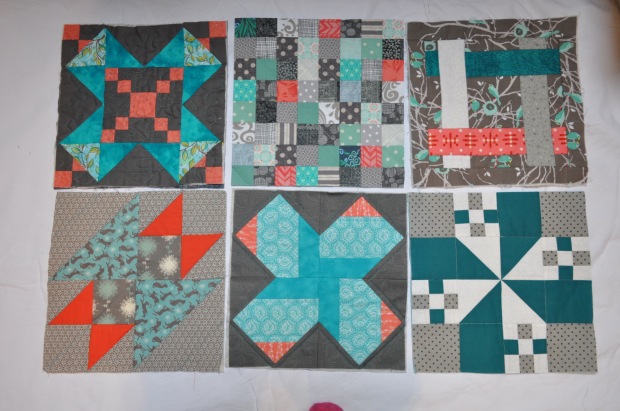
Thirty six blocks have been sandwiched and ready quilted (I’m using the ‘quilt as you go method’). This will be the second row but I have laid them out as a double row for ease of photography.

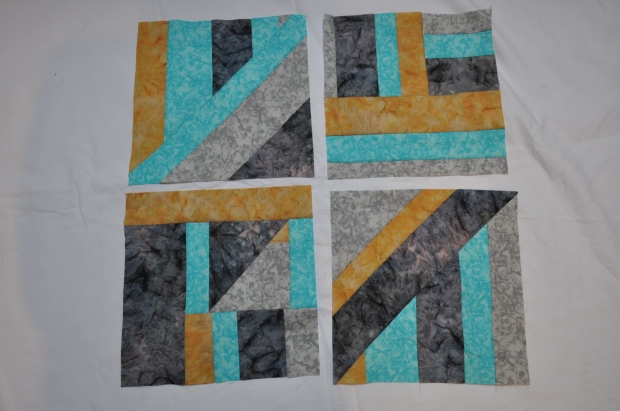
The backs of the blocks where you can see some of the quilting – machine only I’m afraid but I am trying out different methods such as free motion quilting on some of them as, at this stage, they are like mini quilts and easy to get under the machine.

I had enough of this blue marbled fabric to do the requisite amounts of backing blocks but didn’t chant the ‘think twice cut once’ mantra and so ended up two squares short. After a fruitless search for more of the same fabric – including an unanswered pleading email to the wholesale supplier (thanks for that Pascale & Beatrix) – I may have to ‘make do and mend’ by joining (as above) and quilting in a cunning manner to hide the join line. ***
Using the four backing fabrics, I made some improvised blocks for cornerstones.
This block, from Emmely, was a natural choice for one of the corner blocks of the quilt and lends itself to my favourite form of quilting – on the machine, in the ditch, easy!

and it also worked well with the back.
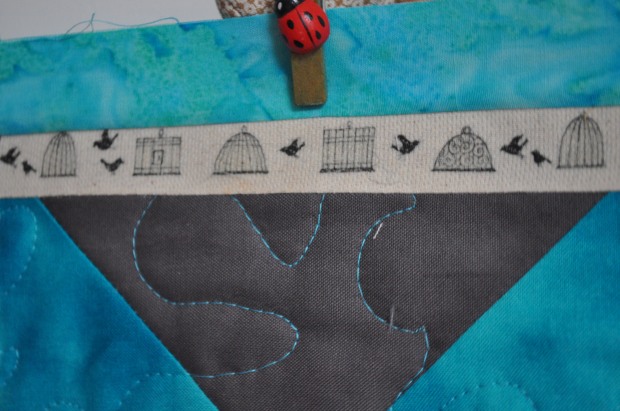
Some of the blocks were a little ‘scant’ when I came to join them and didn’t quite get taken into the seams of the sashing strips. I used this printed tape, attached with bondaweb and then sewn into the seam allowance at the top to hide the gap and prevent fraying. It’s not an ideal solution but I couldn’t lower the sashing strip any more otherwise I’d risk losing details from the adjoining blocks. Any other ideas gratefully received as I’m sure I’ll come across other anomalies when I join the remaining rows.
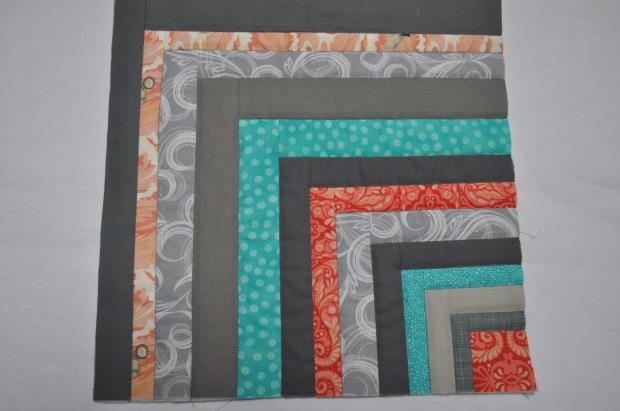
So, here’s one row sashed vertically and once horizontally just to prove that I am getting on with it.

I’m waiting for more piping cord to arrive in the post now and all of my neighbour’s other sandals are in good condition so no more excuses and, hopefully, the next images will be of the finished quilt.
Now I’ve put it in print I have to do it!
*** My friend Sandra returned from a week in Spain, had her fabric stash raided and, as I suspected she might, had a length of the turquoise marbled fabric hidden away in there which is now with me 😉
SPOILER!! The block row joining is not going as well as I had hoped – the seam ripper has been put into service and many many tiny stitches have had to be undone. This is mainly due to the fact that I was concerning myself more with attaching the sashing nicely and not with butting up the batting properly so ending up with empty sashing which is not a good look (or feel). Although, now that I’ve put it down in plain type, I think ‘butting up the batting’ ought to be a phrase brought into common usage.


My Vintage Shop

My Handmade Shop